First of all, let's cover the colored pencil question. I really don't like to color with pencils, but when I do I use Prima Colored Pencils. I tend to use pencils for larger areas to color and I blend the color with Gamosol ( a fancy artist version of baby oil) and a blending stump. Colored pencils do not bleed through to the other side, so if you're worried about bleed through, colored pencils are the medium for you.
My favorite medium to use in Bible Journaling is gel pens and gelato. I think the gel pens are great for coloring the intricate designs in the Inspire Bible. However, the darker gel pens do show on the other side of the page. Below is an example of a design colored with gel pens and glitter pens.

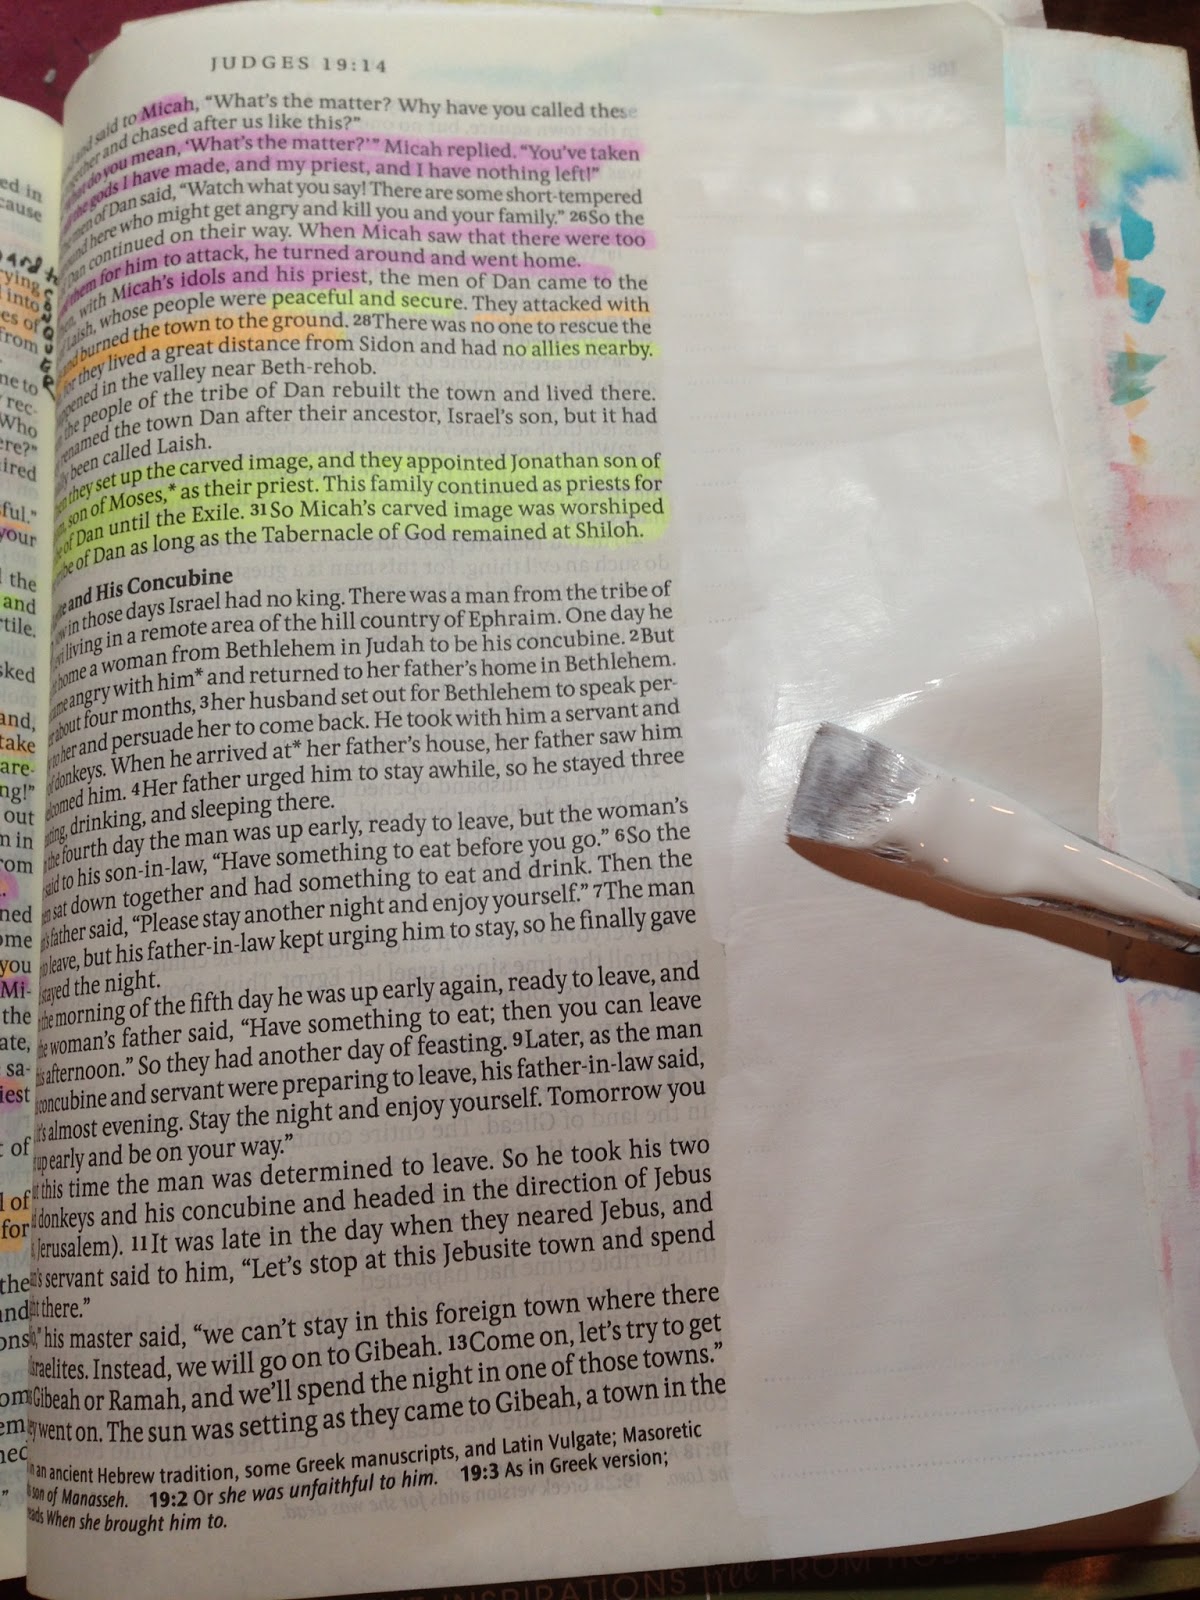
I dried the paint with a heat gun (or you can let it dry naturally but it may need to be ironed) then wrote my notes on the paint. There is no bleed through on the other side.

Here is the other side of the notes. You can barely see the painted border and notes through the paper.

Now how to deal with smears. If you color with gel pens, smearing is always a problem. Gel pen ink takes a long time to dry. I try to color top to bottom or left to right so my hand doesn't touch the fresh ink and smear it, but sometimes even with the best intentions the ink smears like in the example below.

I was pretty discouraged when I accidentally smeared my ink because I already put a lot of work into this page. So I tried my best to fix it with colored pencils and Gamosol. used a dark blue pencil to cover up the smears and blended it with a stump and Gamosol. I filled in the rest of the area with lighter blue pencils. This is an example of when I use pencils...to fill in large areas with color because it's too difficult to fill in large areas with a gel pen.
After I covered the large areas with a dark blue, my pretty pink letters didn't stand out much anymore. So I took a white gel pen and went around the letters to make them pop.

Here is an example of when I colored on the other page and it bled through, but I incorporated the bleed through as part of the design. The very bottom of the page, the design over the words was printed on the other side. I had no idea the light orange gel pen would bleed through, but it dd. So I just water colored the entire page with a lighter hue and chose similar colors to the ones that bled through when coloring this page's design.

The opposite side had another pre-printed image which I colored with pencils and gelatos.


But now I had another problem: I wanted to write notes in the margins, but there was no room in the margins because of the pre-printed designs. To solve that issue, I used a piece of vellum and vellum tape, and adhered it to the inside seam of the Bible. I then wrote my notes on the vellum. I can now still see the words of the Bible and my notes.


I hope I've answered some of your questions and gave you some helpful hints. You will ALWAYS make mistakes when Bible Journaling, they are inevitable. But the important thing is that you are growing as you study God's Word, and not to worry that you're messing you're Bible up. Anything can be fixed, and most of the time, I like the page better after I made a mistake than I did before because it's more creative.
Have a Great Day! Amy
Linking Up with these Fabulous Blogs HERE!
Such great ideas and tips! I love using Pencils and Gamsol (although I use baby oil instead because I don't like dealing with fumes) but pencils are very time consuming so I'm not using them as much anymore.
ReplyDeleteLove your how you made the mistakes into their own art, and it looks fantastic. Being papercrafters/cardmakers/artists we have to learn to make our mistakes beautiful, and we get better at it the more we do it. It's been a while since I threw out something because of a mistake, but I sure remember doing it.
Thanks Ellie!
DeleteThis is so pretty! I am always trying to teach my daughter about not getting discouraged when she makes a mistake and figuring out a way to fix it. There is a book we read about it called Beautiful Oops. I think you have given some great tips and your pages are all turning out so beautifully!
ReplyDeleteThanks Laura! That book sounds wonderful. I will have to look for it.
DeleteLooks very nice. Thanks so much for linking up at #AThemedLinkup 1. Shared.
ReplyDeleteThanks Dee!
DeleteThanks Marilyn!
ReplyDelete