Tuesday, March 28, 2023

Creative Bible Journaling - February Pages

Come along with me each month as I journal my way through the Bible.  I'm not artistic at all, so you won't see beautiful illustrations and calligraphy, but what you will see is what I gleaned from the scriptures every day and how I creatively journaled what I have learned in the margins of my Inspire Bible.

In the month of February,  I finished the book of Job, went through some Psalms, and started the book of 2 Samuel.

For my first page, I used acrylic paints to paint a mountain scene.  I used a combination of stickers and my own hand writing for the verse.  I added some white highlights using a gel pen to the verse because I thought it got lost in the mountain scape.  Finally, I added some ephemera from a bible journaling kit and then I added an arrow with some notes.

I chose a mountain scene to illustrate the power of God.  So much of the book of Job is describing how all-knowing and powerful God is by using nature metaphors.  Mountains represent majesty and magnificence to me.

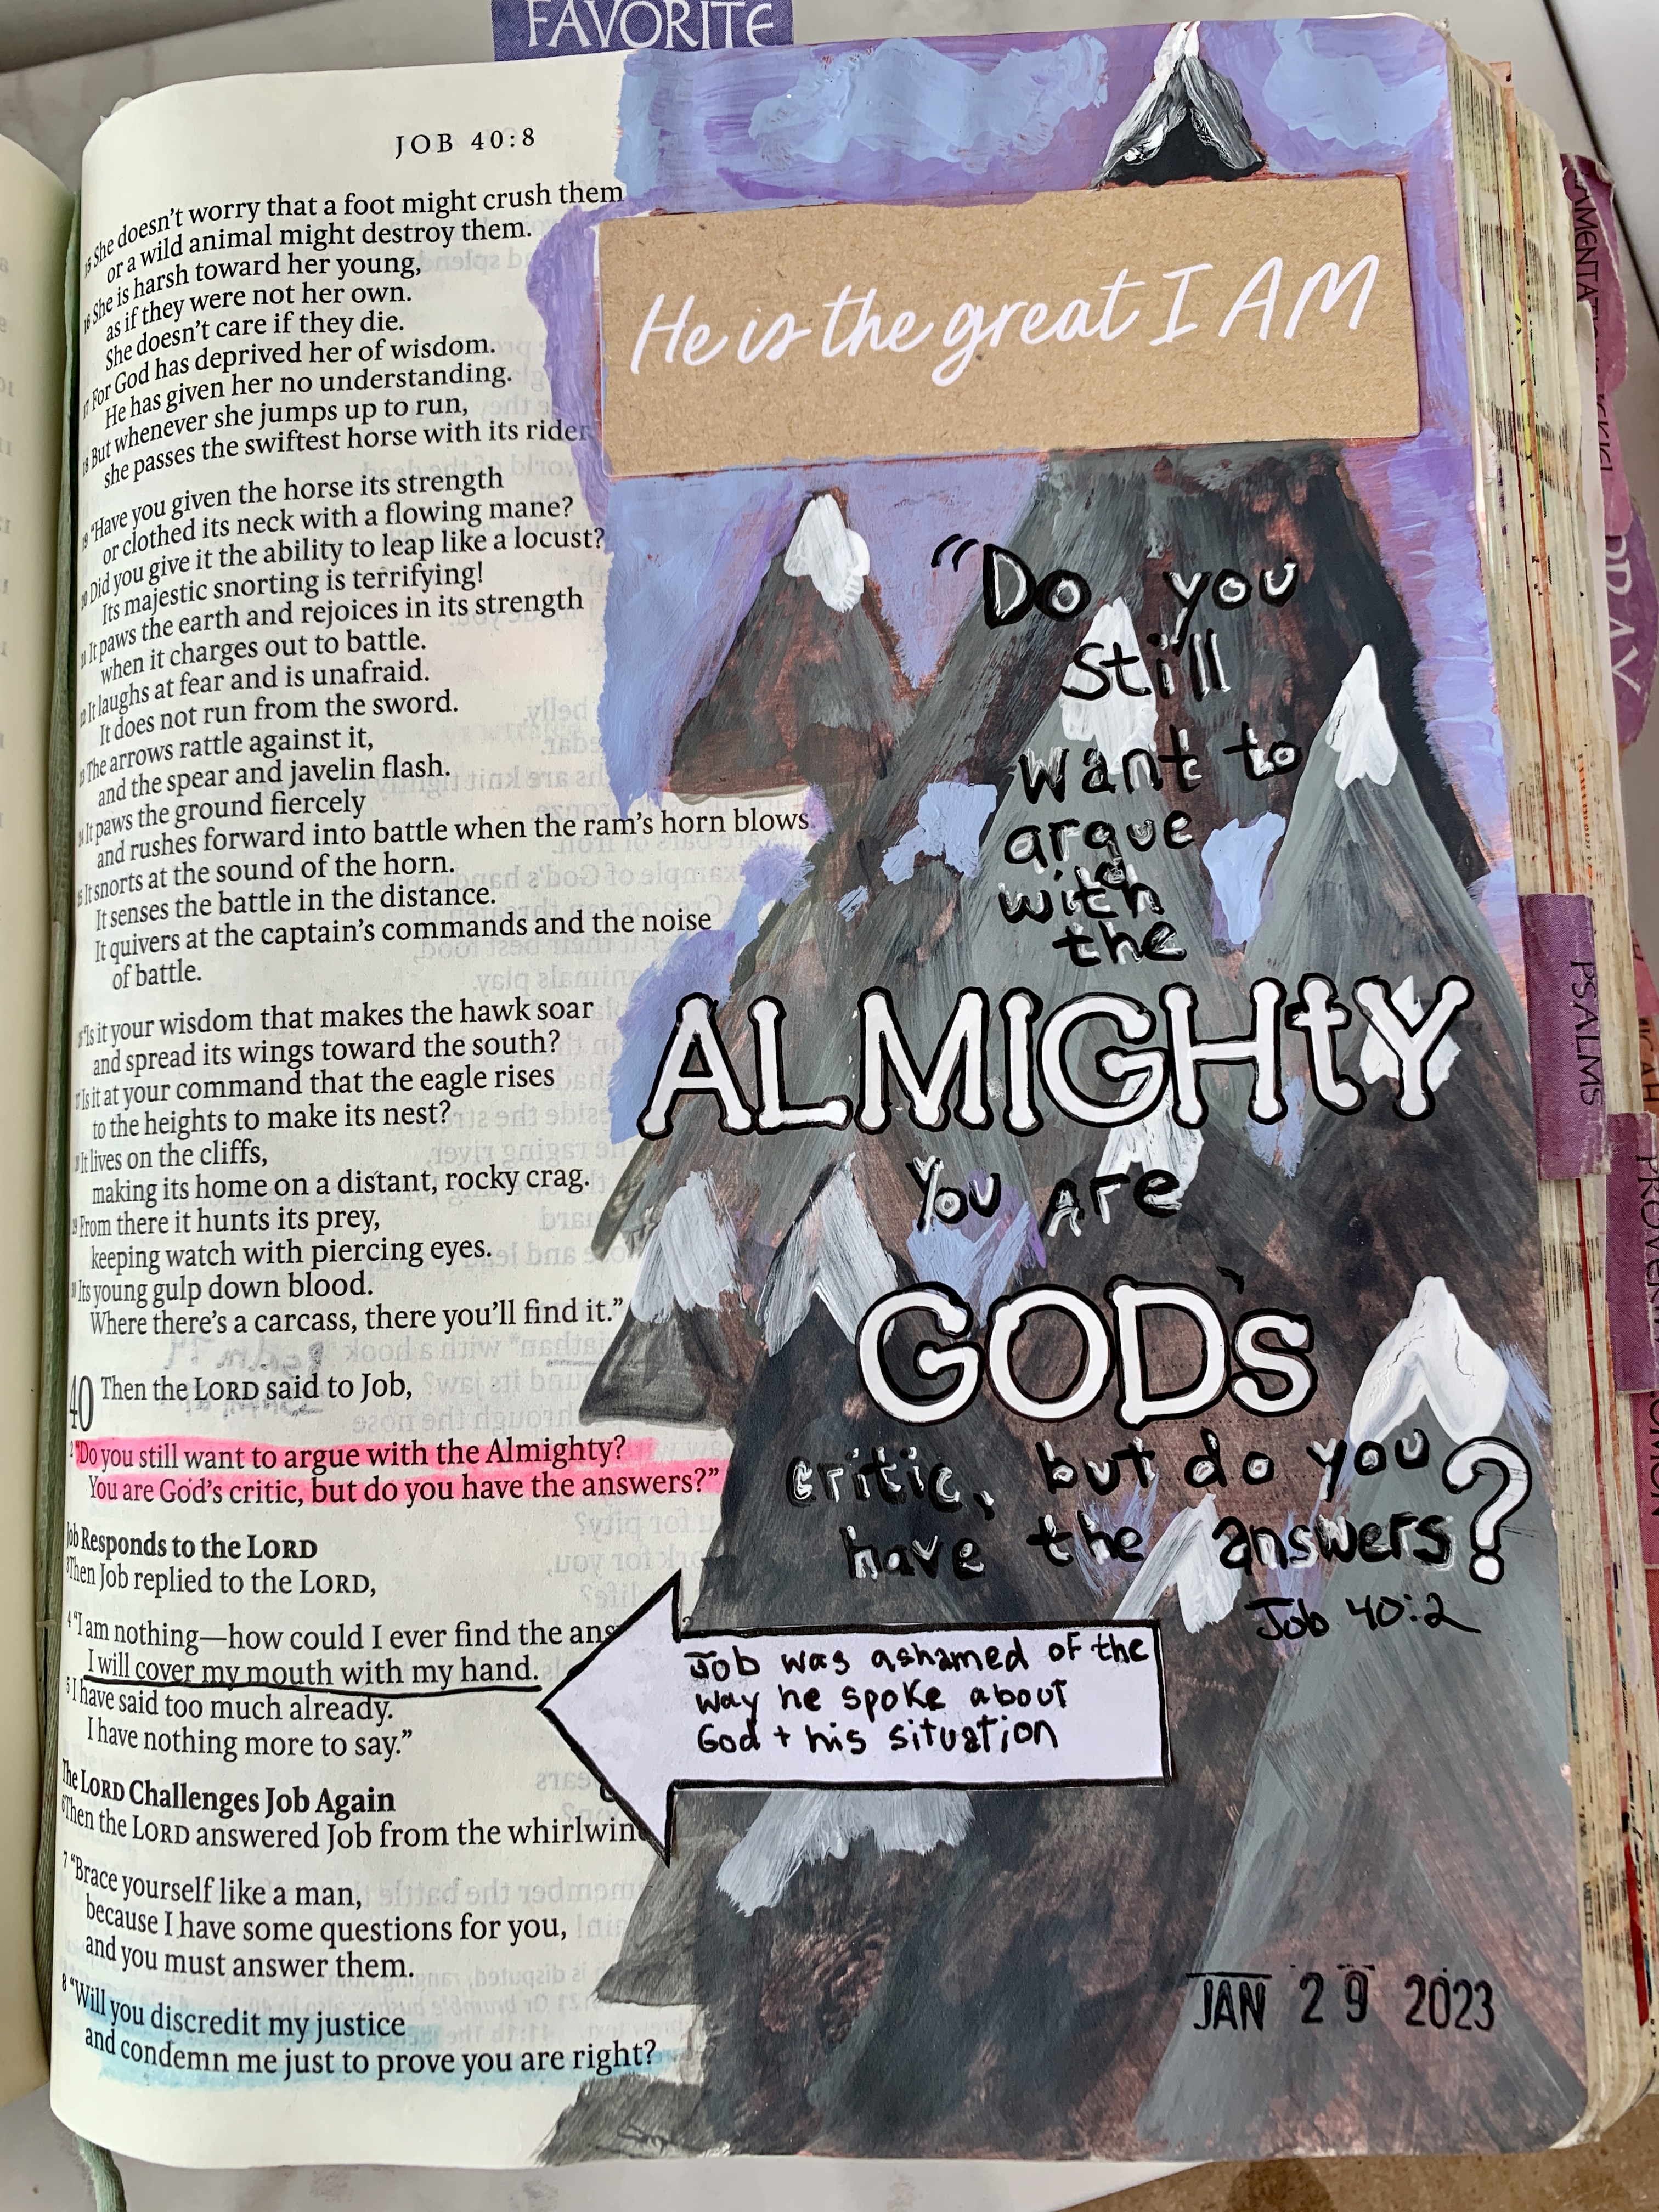
Here God Himself answers Job by asking him if he is as strong as Him and referring to His voice as thunderous;  so I illustrated a stormy night with acrylic paints.  I hand wrote most of the sentiment but added a few alphabet stickers for emphasis.


When I read the verse about Job seeing God I was reminded of what Jesus said in the book of John, so I hand wrote both verses on my page highlighting the word "Believed", because that is more important.  It sure would be awesome to see Jesus with our own eyes (and we will someday soon!), but we are more blessed to never have seen and yet have FAITH that He is real.


This is one of the most well known verses in scripture, in fact it was made into a chorus and I remember singing it all the time in late 80's/90's.  I painted a natural background then I hand wrote the verse and added a die cut of a deer.

Here I used an image of a lighthouse to illustrate the word "light".  I simply cut it out, colored it in, and glued it to the page.  I hand painted the background using paint and used a combination of stickers, stamps, and my own hand writing for the verse.

Today the Holy Bible is our light, God's truth, that guides our daily lives. 


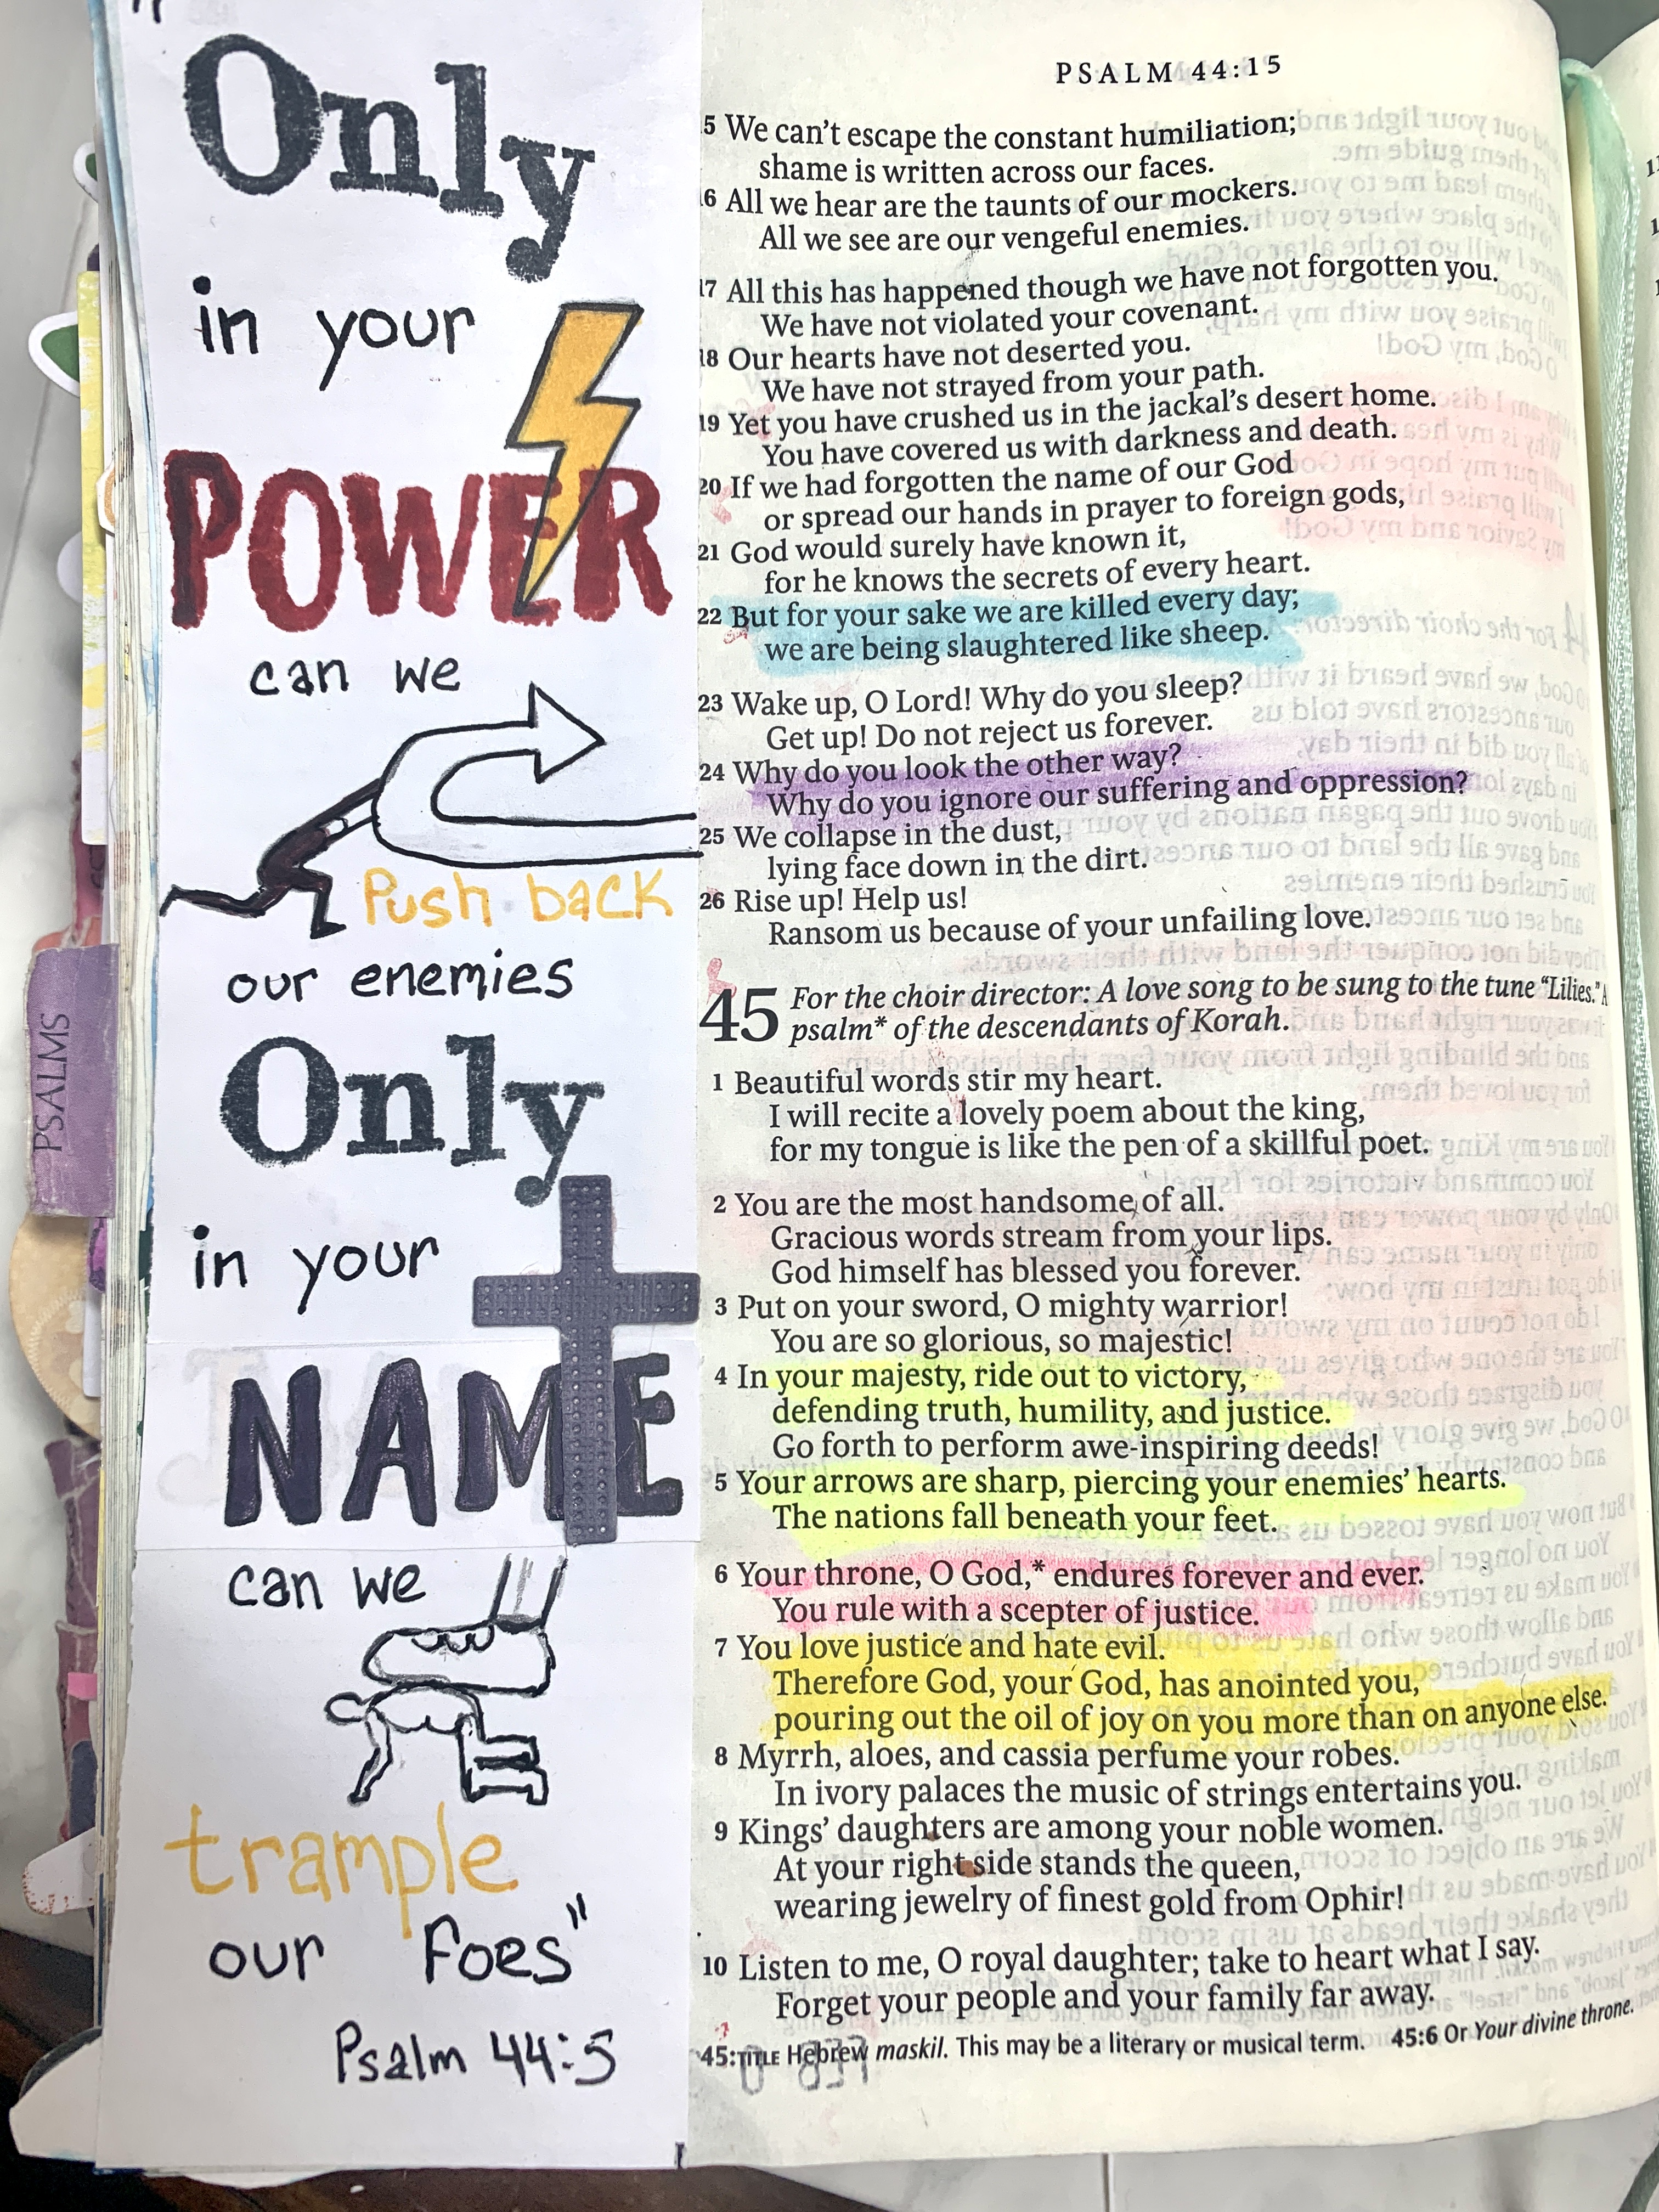
I love this verse.  It means so much to me right now when I observe all the injustice going on in the world.  I am comforted that heaven is just, and that someday soon Jesus will set up His kingdom here on earth and He will rein and finally everything will be set right.


Only in God's power and name can we defeat our enemies.  Here I just took the verse and added small illustrations of the words.  I used a lightning bolt to represent "power" and a cross to represent the "name" of Jesus.


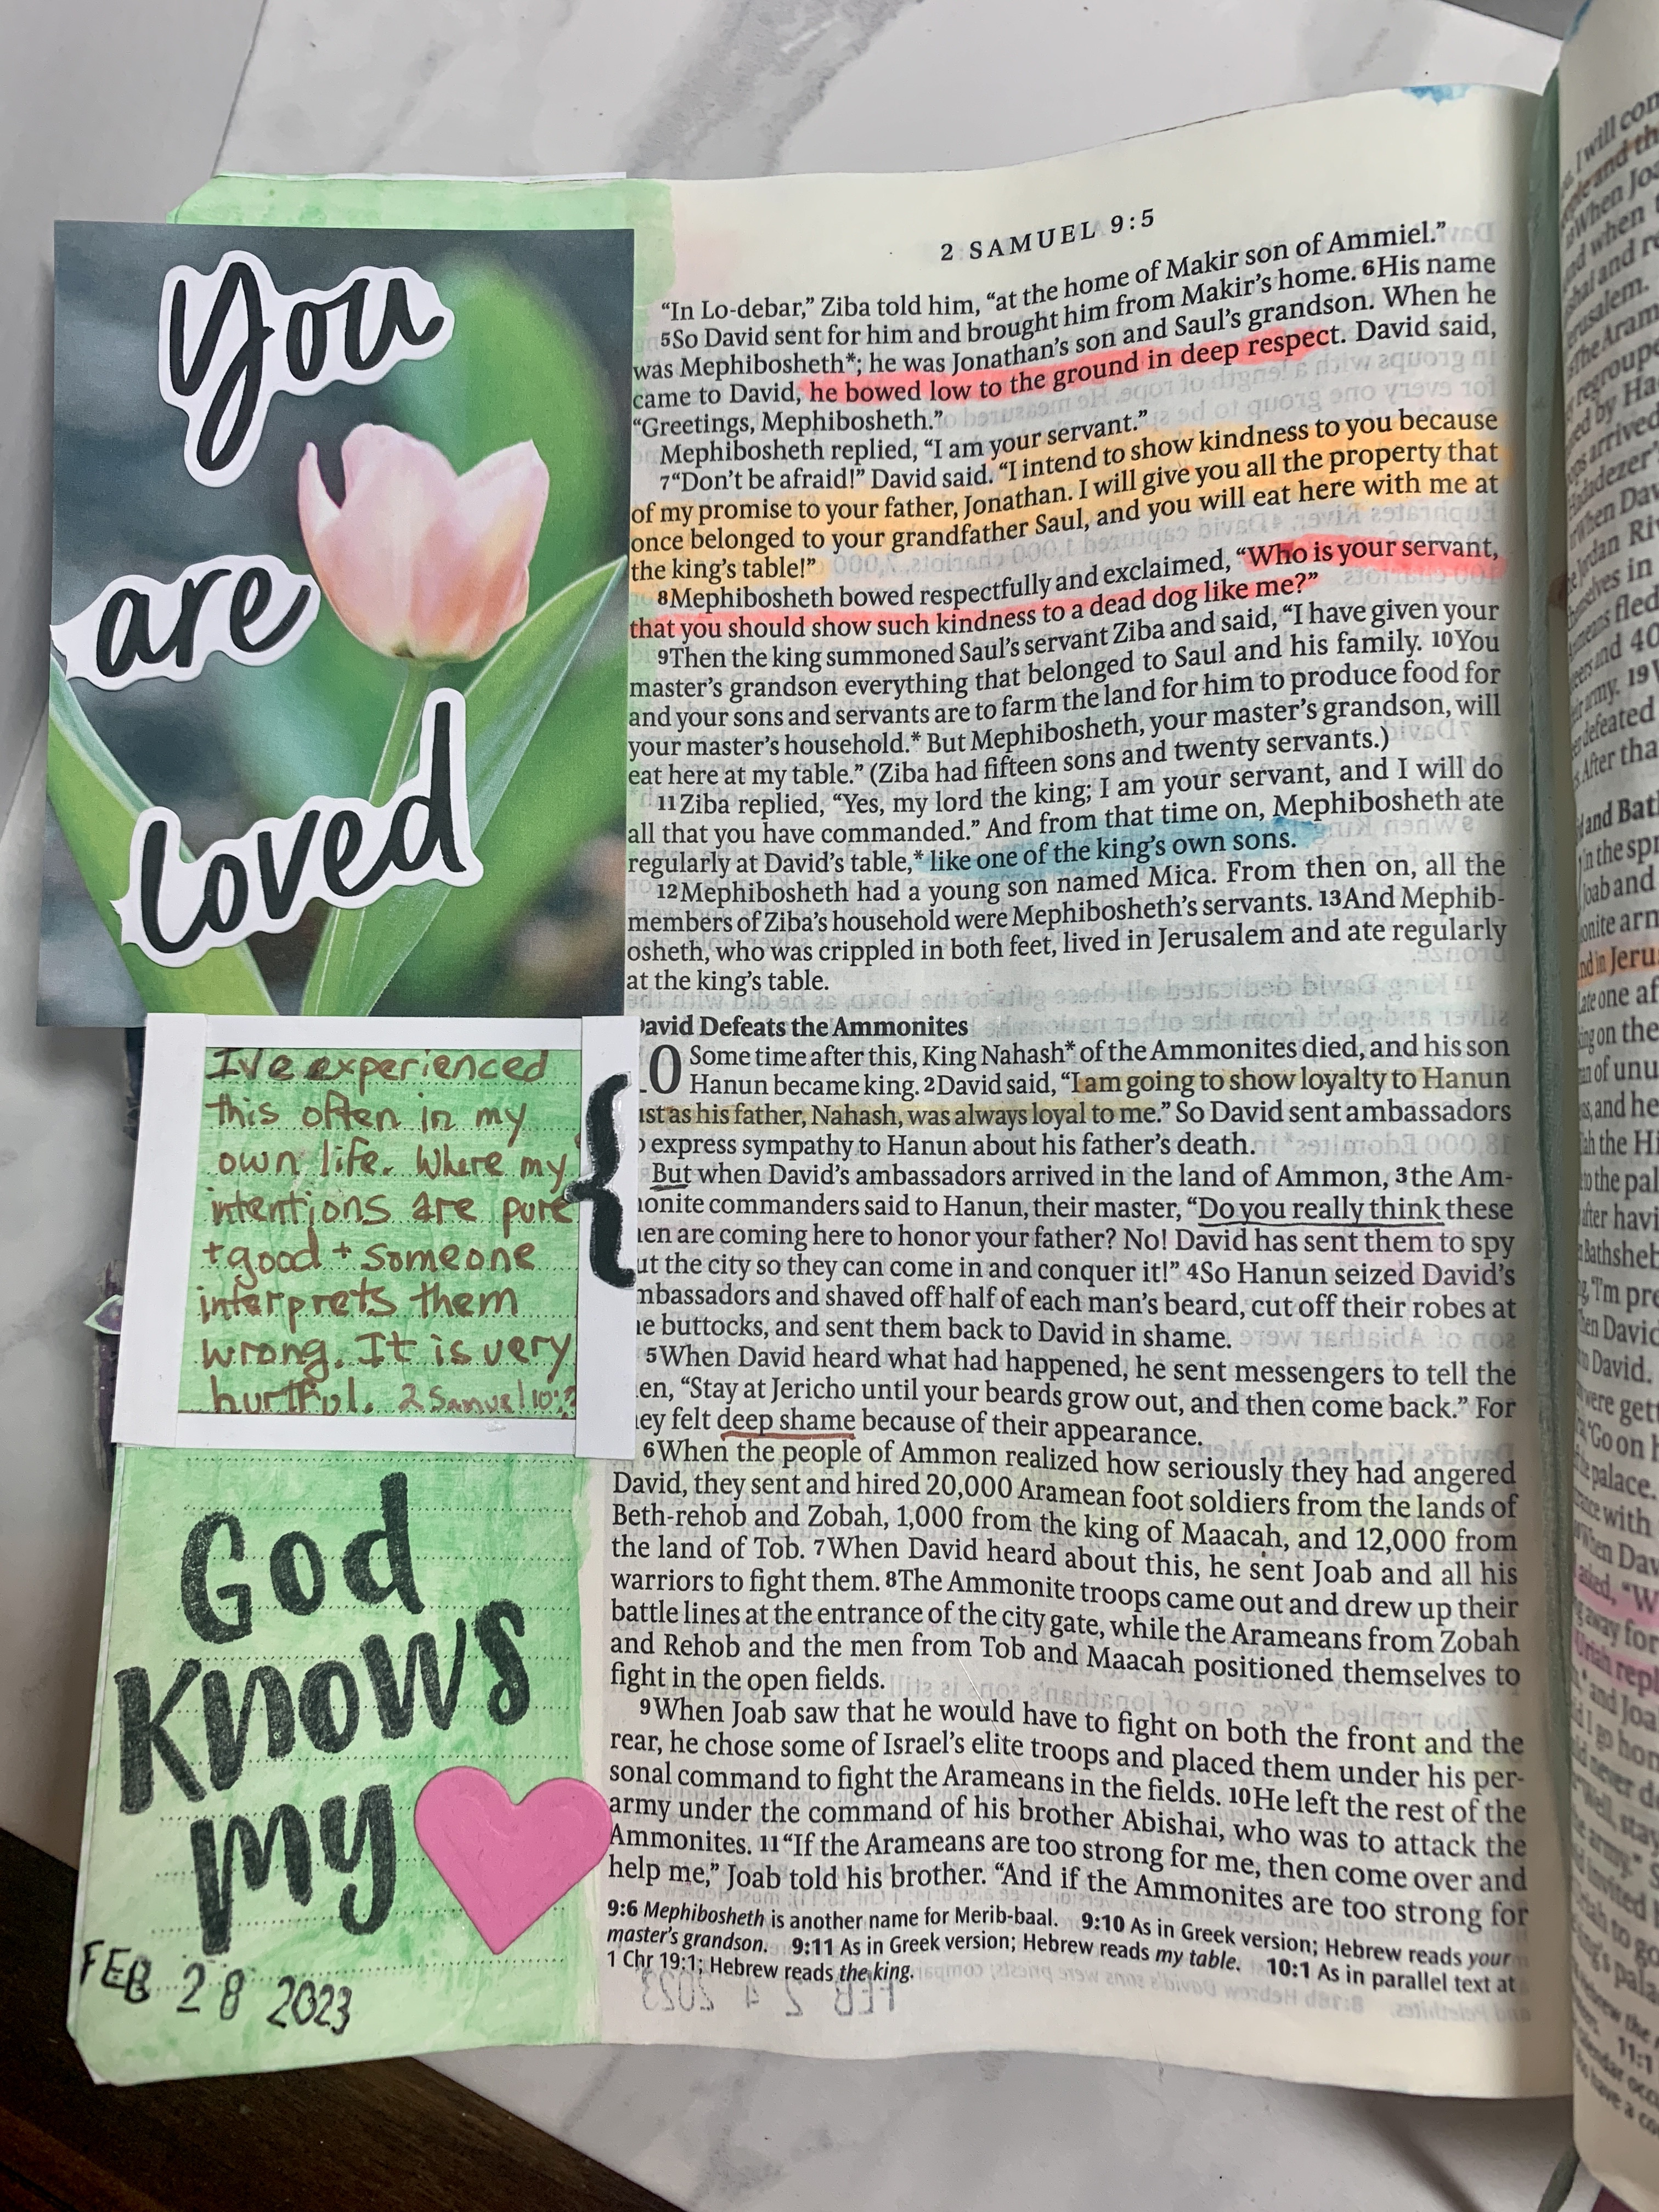
In my "Enduring Hope" Bible Journaling kit from "Illustrated Faith" I received so many pretty photo cards of flowers.  I've been using them as backgrounds for my pages if the margin in my Bible is wide enough.  Thankfully, the Psalms has nice wide margins so I was able to use a lot of them in there.  

Nature, especially beautiful flowers, represent "praise" to me.  Tulips are one of my favorite flowers.  I love how they open up in the sunshine, as if they are praising God, arms outstretched.  

I decided to invest in several new alphabet stamps since I have given up on my calligraphy skills.  Hobby Lobby had some on clearance, so I was able to pick up quite a few sets.  This page is mostly alphabet stamps with just a little bit of my own hand-writing.  The stamps really make your page prettier if you are not a good calligrapher.  

To make this page I added some floral ephemera to the top of the page, and then even though the word "peace" is not directly in this verse, I added it to my page (again using ephemera) because this is a verse that can give me "peace".  As I wrote in the margins "I can have peace during these troubled times because He will take care of me if I call on Him".


God desires us to be broken and repentant of our sins.  He will never reject us if we come to him with a broken spirit and confess our sins.  

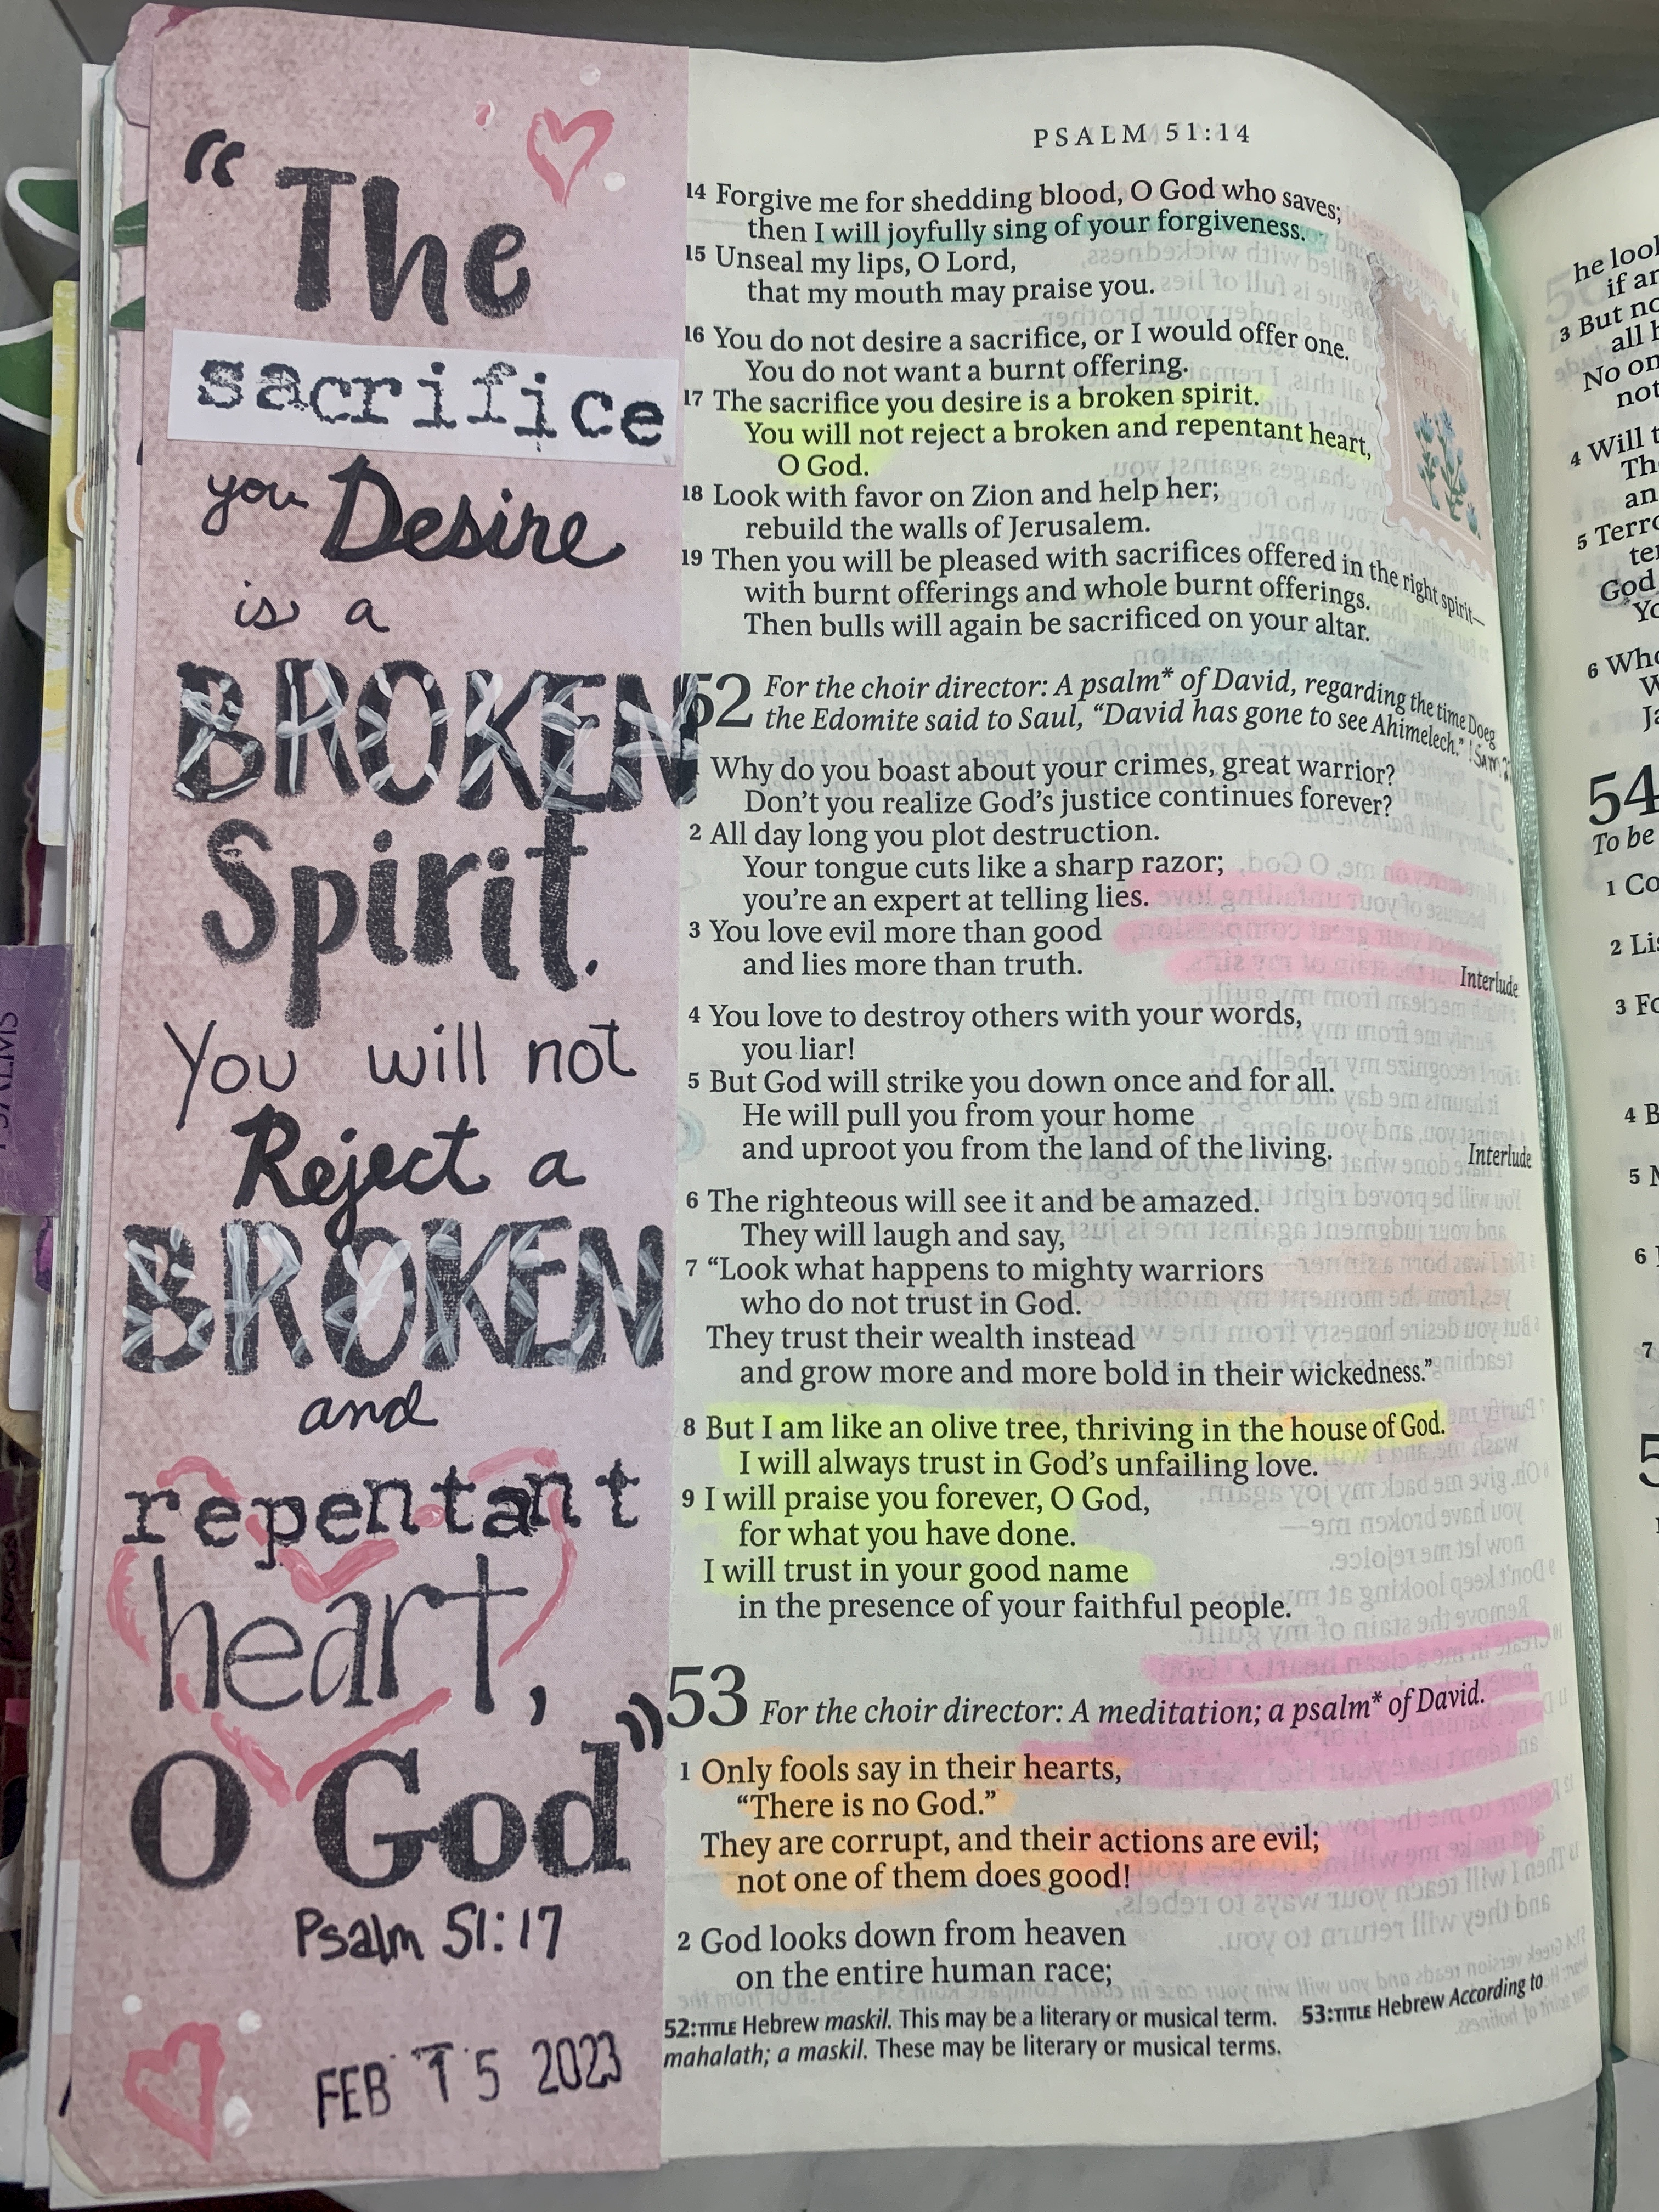
For this page I highlighted lots of words in different ways but the most creative way was to take a white gel pen over the word "Broken" and make it look like the word was broken.  I also added some hearts to represent the condition of the heart God desires.


I love the way this page turned out.  I simply painted a background, then added an image that I printed off the Internet, colored in, and cut out.  Once again I used a combination of stamps for the sentiment.  I added a "He Restores My Soul" stamped image to cover up a boo-boo, but don't worry, it lifts up so I can still read the scripture underneath.


Because David had the right heart attitude and was obedient to God, the Lord was with him and blessed David and Israel.  There were times in his life when David sinned, he wasn't perfect, and unfortunately both him and Israel suffered the consequences. 

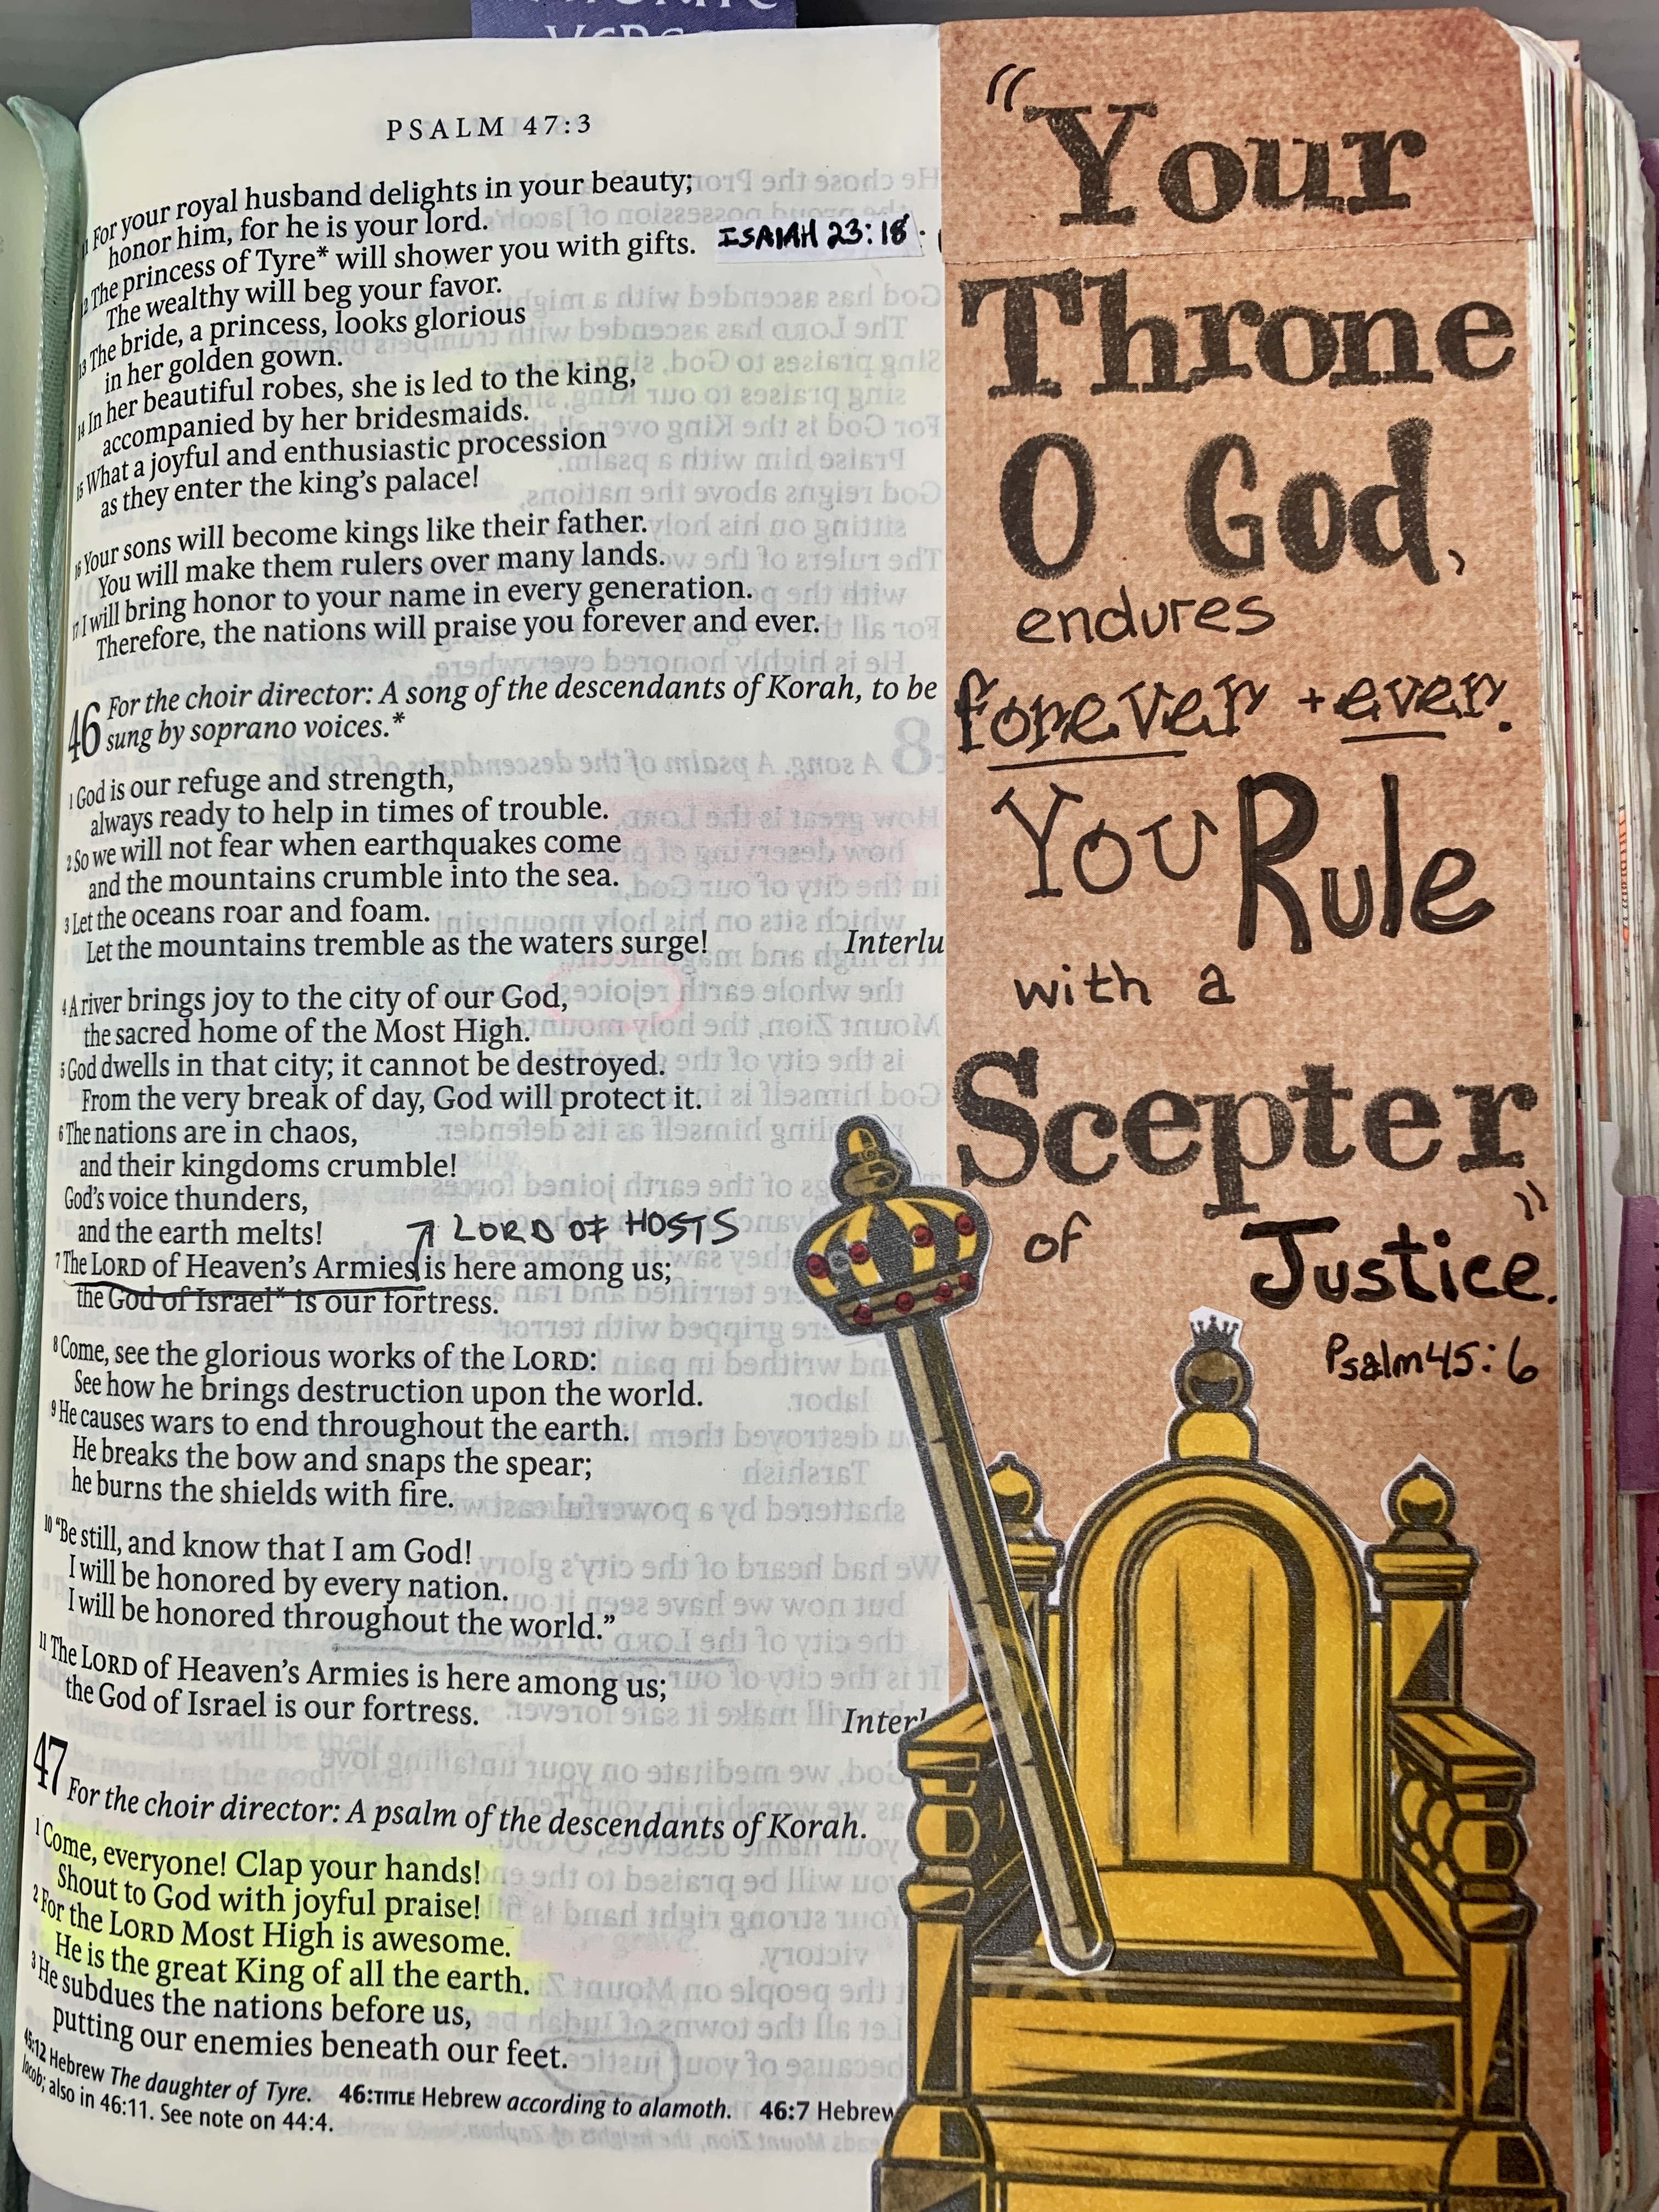
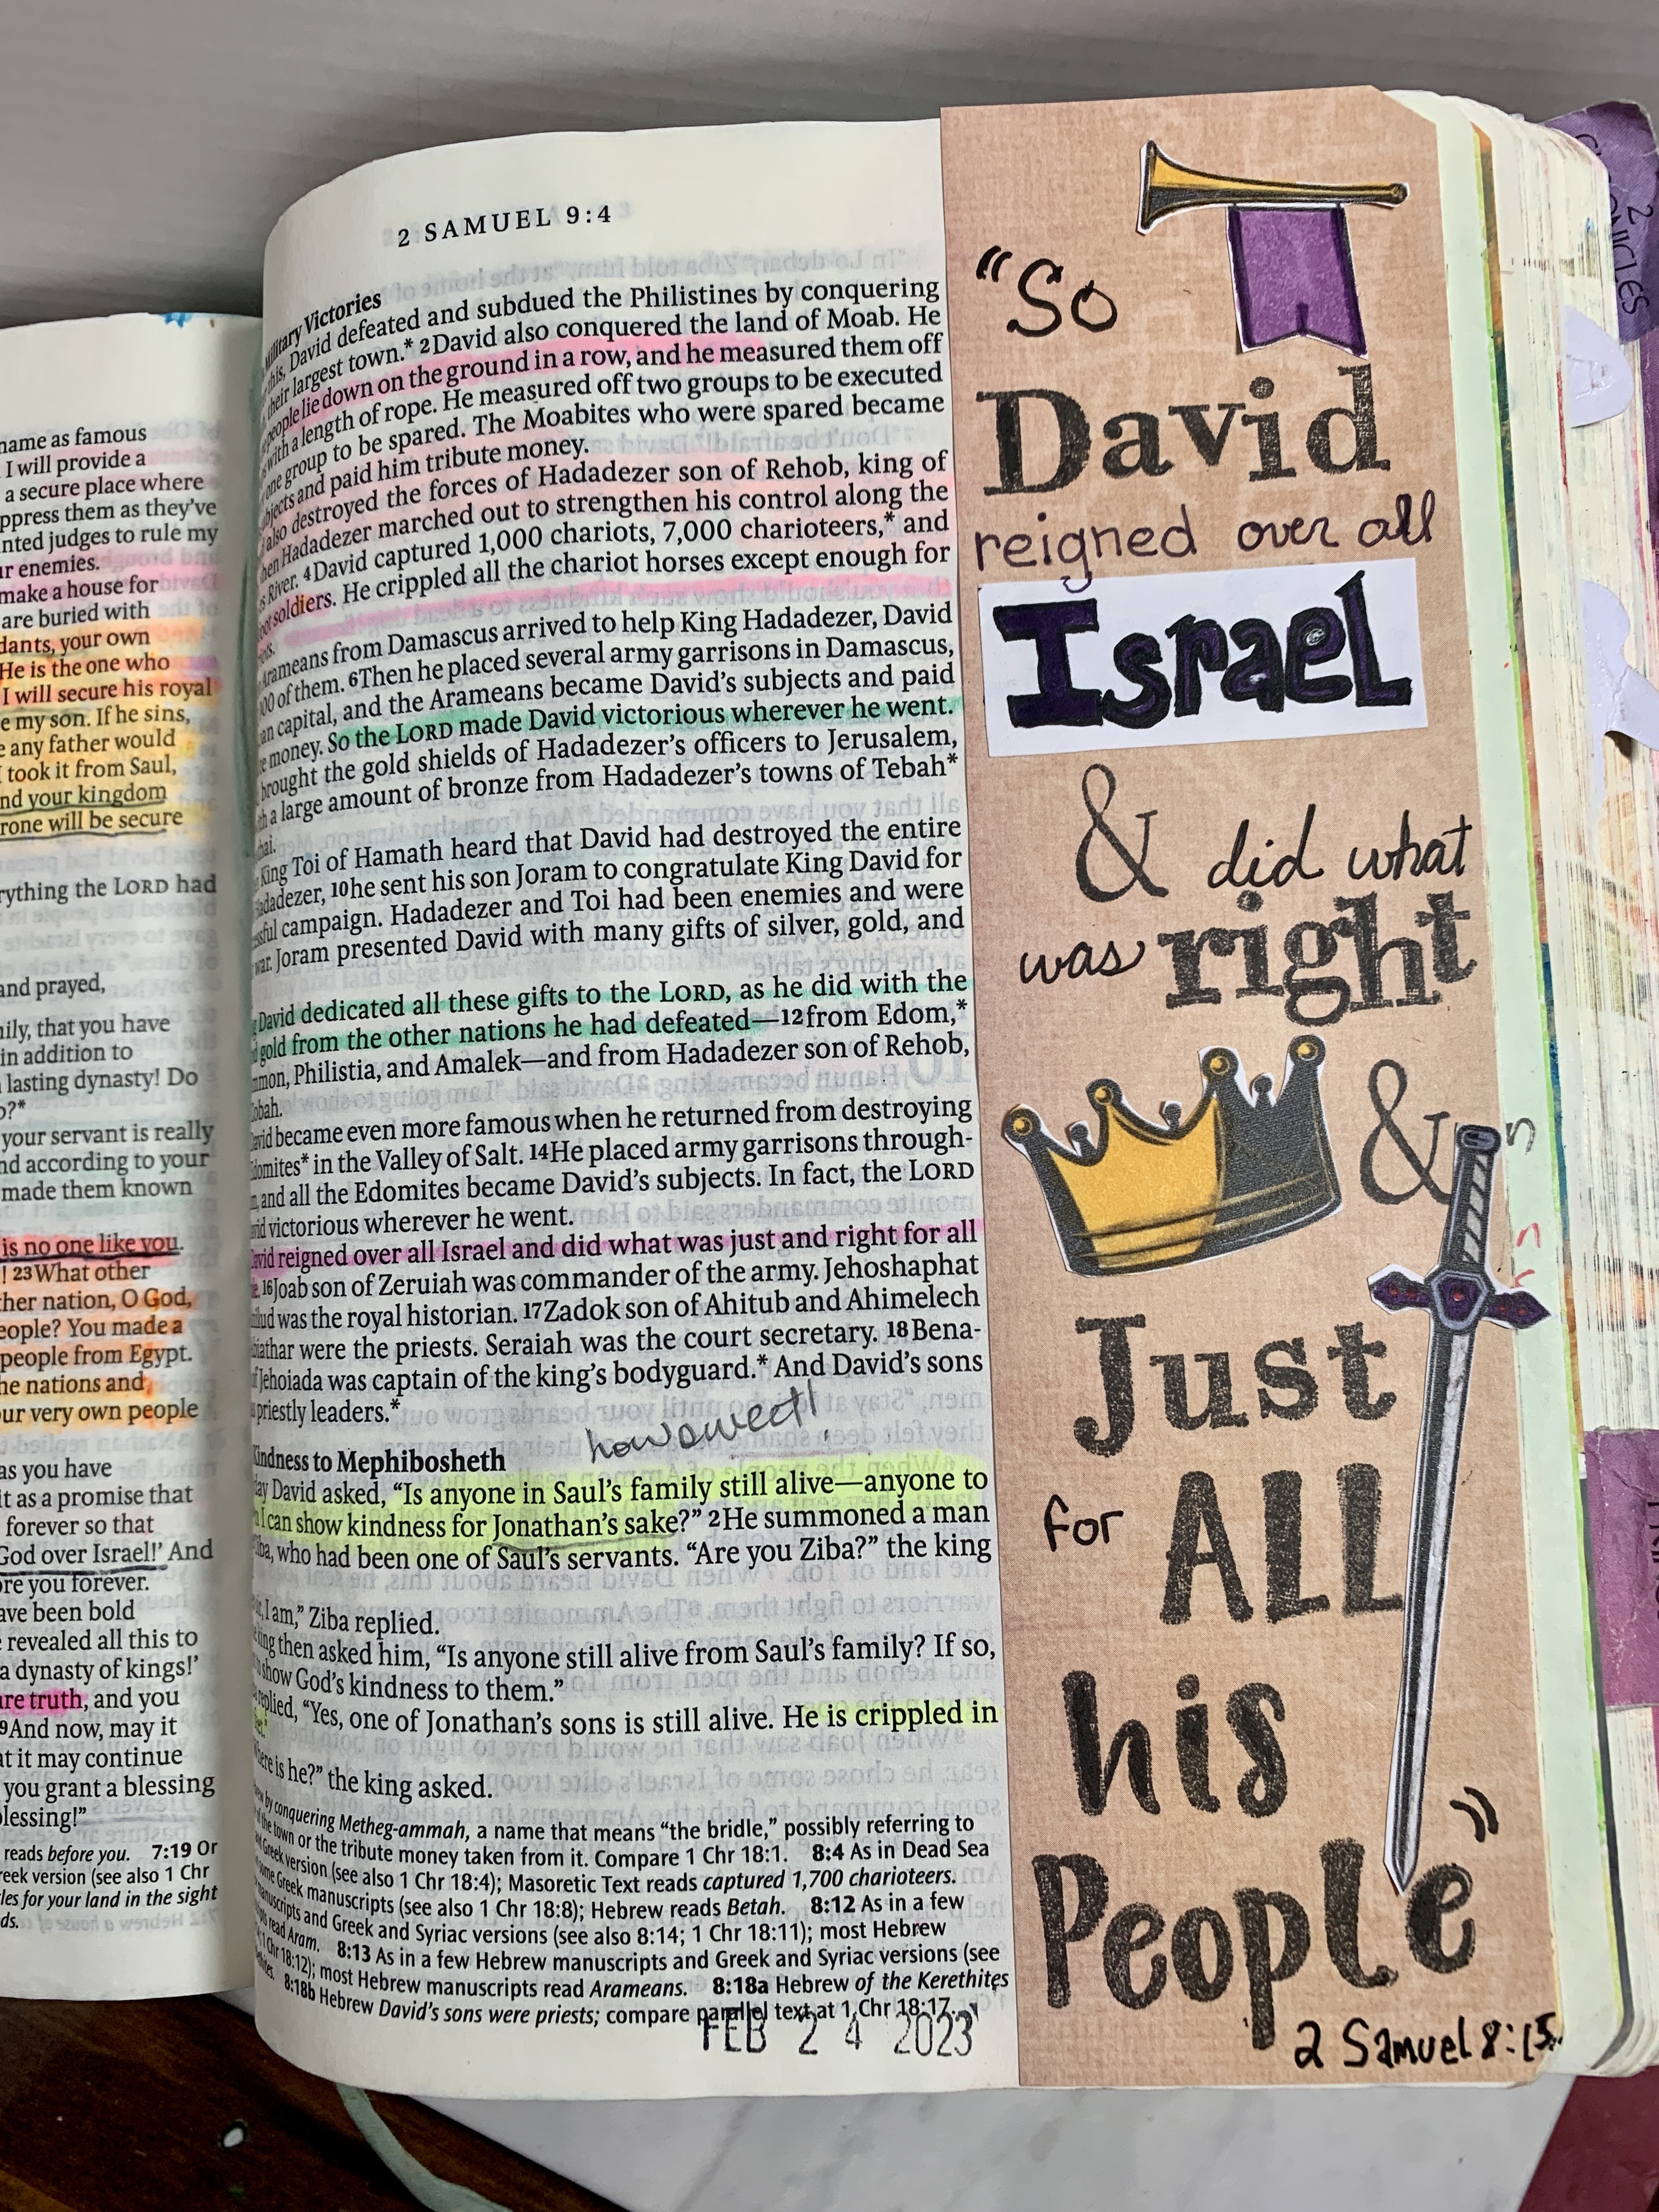
This "king" image was once again printed off the Internet, colored in, and cut out.  I used stamps and my own handwriting for the sentiment.


There were some extra "kingly" images included with the image of the king above, so I used them to illustrate this verse.


And finally, another floral photo from my "Enduring Hope" kit that I used for a background.  Not all Bible Journaling pages have to be just an illustration of one verse.  Here I wrote some notes of how I could relate to David on one issue, and added some highlights of how I feel with stamps and ephemera.


 I hope you were inspired by God's Word today!

Have A Great Day!  Amy

Linking Up with these Fabulous Blogs HERE!

Tuesday, March 21, 2023

Handmade Easter Cards for Children

Easter is just a few weeks away so I thought I'd share some cute handmade Easter cards I made for my grandchildren.  All my cards were made using cute felt, foam, or stickers found in the seasonal aisle of any craft store.


I always search Pinterest for ideas before beginning a new project.  All three of my cards were "cased" from another card, but they always turn out looking very different because I use different supplies and bring in some of own ideas.  This first card was cased from THIS ONE.


To make this card, I first cut a 5x5 square out of a dark Kraft paper card stock.  Then I cut smaller, scalloped squares out of a lighter Kraft paper, then I cut lavender squares;  using a Cuttlebug machine and Spellbinder's Nestabilities.  After all the squares were glued together, I just glued on all my pretty felt stickers.  The sentiment and little chick were stamped on a separate piece of white card stock, colored in, cut out, and glued to the lavender square.  Finally I added some sequins for more bling.


My next card is my favorite of the three.  I just really love the CAS layout with the embossed white card stock background.  I cased this card HERE.


This card was the easiest of the three,  I simply glued all the felt stickers to the embossed white panel base, then added a sentiment banner and more sequins.   I cut the banner using an MFT die, and then I stamped and colored in the sentiment right on the banner.


For my last card, I created a background by gluing an assortment of foam eggs onto Kraft paper.  I got the idea from THIS CARD.    I bordered the Kraft background with Robins Egg card stock.  Next I added a scalloped oval and I glued a felt bunny to the oval adding sequins for embellishment.

The sentiment banner was cut with an MFT die and I stamped and colored in the sentiment directly onto the banner.  For a final touch, I added a pink ribbon and felt flower.


 I had so much fun making these cards, and I can't wait to give them to my grandchildren.

Next week I'll be back with a video showing you what I put into my grandchildren's Easter baskets this year.  Last years video was such a huge hit, I decided to do another one this year.  Apparently everyone is looking for ideas of what to put in their children's baskets.

Have A Great Day!  Amy

Linking Up with these Fabulous Blogs HERE!

Thursday, March 16, 2023

Styling Spots and Dots with Ageless Style

Ageless Style is a monthly style challenge and link up for women of all ages.   Each month we pick a different theme and style an outfit based on that theme.  This month's theme is "Spots and Dots" and was picked by Mireille.

Yes, Monday is the first day of spring, but we are still buried under snow here in Wisconsin.  The snow just won't stop falling!  I feel like I'm trapped inside a snow globe and can't get out!  When Mireille picked "Spots and Dots" for this month,  I looked in my closet and the only thing I had were some leopard print flats and a summer polka dot dress:  both completely inappropriate for this kind of weather.  So I decided to use a little creative license and show you this cute, cuddly "new to me" sweater that has something that looks more like "splats" than "spots" or "dots".  


I bought the sweater last year at an end of winter sale, but I never showed it on my blog till today.   It's the perfect Wisconsin sweater:  long, thick, and super warm and cozy.


Because it's so long, I can wear it with leggings, and for footwear I chose ankle boots...perfect to wear on snow covered sidewalks.


There's a debate in my house over whether these are snowflakes or flowers.  I think they are flowers, or "splats".  ha ha!  Whatever you want to call them, I sure do love them!


I purchased my sweater at JCPenney.  I couldn't find this pattern anymore, but they have a very similar one HERE, and on clearance for only $8.99. You can't beat that price!.  It's the same exact sweater, just a different pattern.


Well, I hope you enjoyed my "splats" or "spots" or "dots", whatever you want to call them.

Now be sure to check out how the rest of the ladies in the group are styling their "Spots and Dots" and be sure to link up with us as well.

Have A Great Day!  Amy

Linking Up with these Fabulous Blogs HERE!


Amy ~ Amy’s Creative Pursuits

Blog | Instagram | Pinterest | Facebook |

Bo ~ Bo's Bodacious Blog

Blog / Instagram /Pinterest / Bloglovin'

Joanna ~ My Slice of Life

Blog

Jodie ~ Jodie’s Touch of Style

Blog | Instagram | Facebook 

Leslie ~ Once Upon a Time and Happily Ever After

Blog | Instagram | Pinterest | Facebook |

Marsha~ Marsha in the Middle

Blog /Instagram

Mireille ~ Chez Mireille Fashion Travel Mom

Blog | Instagram | Pinterest | Facebook |

Rosemary ~ Distinctly Southern Style

Blog / Instagram / Pinterest / Facebook


You are invited to the Inlinkz link party!

Click here to enter

Tuesday, March 7, 2023

Handmade Combination Retirement and Birthday Card

One of our dearest and longest friends had a combination 60th birthday and retirement party.  They said "No gifts please.  Just the presence of your company" in their invitation, but I at least wanted to give a card.  The question is, when an event is two separate things at once, how do you create a card?  Most cards are either birthday exclusive or retirement exclusive.  Now, I could have given two separate cards, but I decided to create one card celebrating both milestones.

I started by searching my craft room for appropriate stamps.  Nothing.  So then I turned to the Internet and googled "Free Happy Retirement Images to color" and I found this one.   I thought it was perfect for the occasion because I knew the recipient hopes to be a "Snow Bird" plus I saw the sun in the image the perfect spot to stamp "Happy Birthday".


To make the card, I printed the image onto card stock sizing it down to fit an A2 sized card.  I then colored the image in with Copic Markers and stamped "Happy 60th Birthday &" on the sun.


Then I just glued the image onto a card base.  Easy Peasy and perfect for the occasion. 


 Have A Great Day!  Amy

Linking Up with these Fabulous Blogs HERE!